Photoshop Tutorial – Using curves to adjust image tone
The curves tool is very powerful for image manipulation. We use curves to precisely adjust the tonal characteristics of an image. In this tutorial we will explore the curves tool in its simplest form to adjust the contrast of an image.
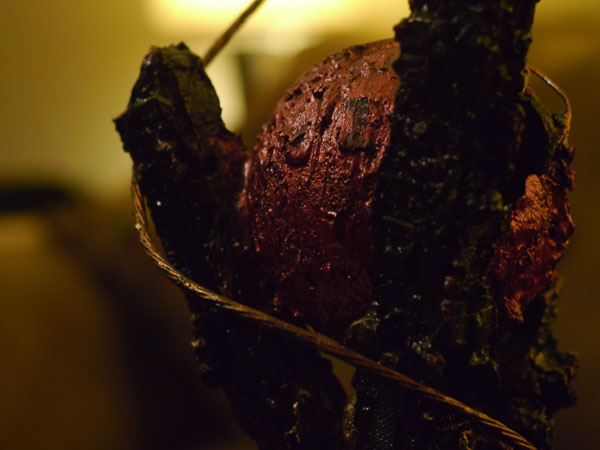
The original photograph was taken in a room with natural lighting and it looks acceptable. However, we can add an adjustment layer to it to give the photograph a precise contrast making it warm and rich in color.
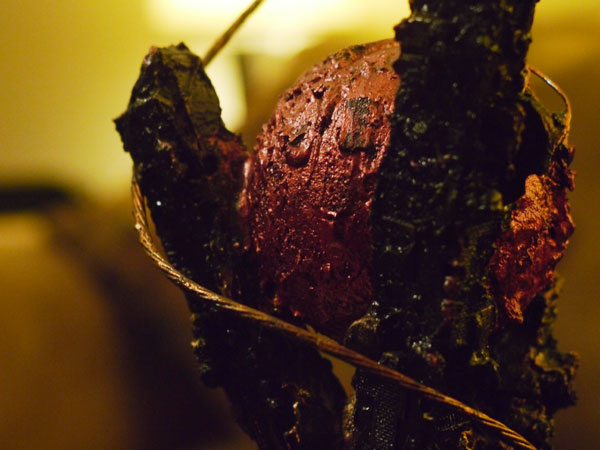
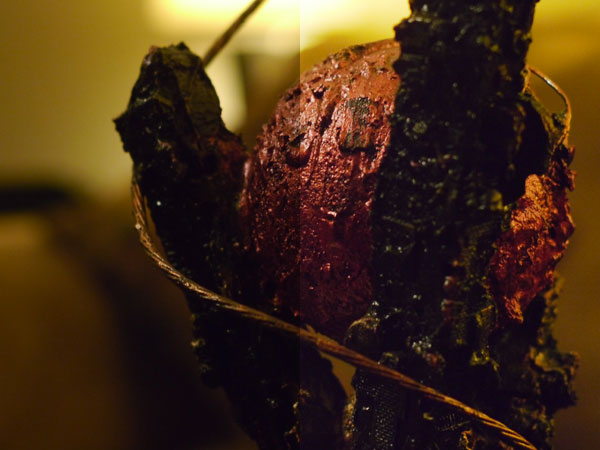
The curves tool is very precise and a small adjustment goes a long way! Here is a side-by-side view of the photograph before and after the adjustment.
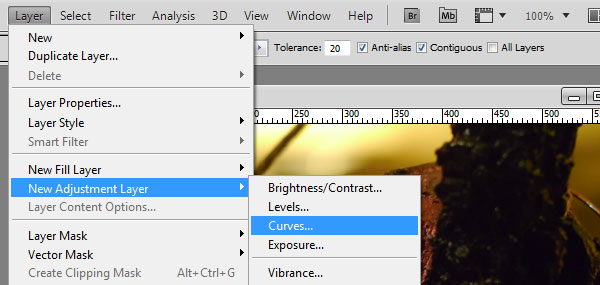
So how did we get to the finished product? It’s really quite simple. We start by adding an adjustment layer to our original photograph. From the top menu: Layer -> New Adjustment Layer -> Curves… There is also a shortcut in the layers window for this as well. We could also change the image directly without the adjustment layer however this allows us to see our effects without corrupting the original photograph.
Once the new adjustment layer is inserted we manipulate the tone of the image by adding points to the “curve”. The curves window displays a histogram representing the distribution of light throughout the image. The left side is the dark the right side represents the lightness. Take note of the black to white gradient at the bottom of the chart.
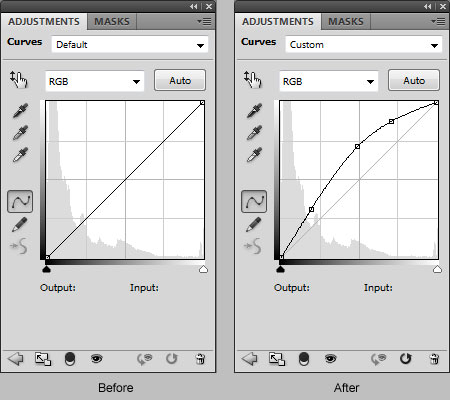
Points may be added by simply grabbing the line at any point and moving it around. Once you have created a single adjustment point you may add others to gain the exact levels you require. Points may also be deleted as necessary just select the point and press your delete key.
This is a small sample of what can be achieved with the curves tool. Add additional adjustment layers and play with it, you may find combinations of different effects that make your image a work of art.


